Can you cut 1 Tonne of carbon pollution out of your life?
Take the challengeBotanical name: Pisum sativum var. macrocarpon
Munching on crisp snow peas straight from the garden is one of great joys of vegetable gardening. They were my favourite vegetable to grow at high school with my friend Martin in our agricultural plots where we received a prolific harvest.
We would grow ours on a tepee constructed out of wooden stakes and string and within a few weeks we would be searching the vines to find the well-camouflaged pods.
Description
Snow peas are an annual crop with flat edible pods that are eaten before the seeds properly form. They are easy to grow and are a fabulous crop to grow with children as they provide a rapid and abundant harvest of tasty treats.
You can eat them raw or lightly boiled, steamed, or stir-fried. Seeds that haven't been chemically treated can also be grown as shoots or microgreens.
Varieties of snow peas
Snow peas come in both climbing and bush varieties.
- Oregon Giant: 1 metre climber with some resistance to powdery mildew.
- Oregon (bush): 70cm and good for small gardens and children.
- Yakumo Giant: 2 to 2.5 metre climber with purple flowers.
- Yellow podded: 2 metre climber with pink and purple flowers.
- Mammoth Melting: 2 meter climber that is high yielding with a long harvest period.
Should I grow from the seeds or seedlings?
Snow peas are more successfully grown directly from seed than from seedlings because they have sensitive roots that do not like being transplanted. This is also a more cost effective way of growing plants. If you have difficulties with animals eating your seed, try creating a barrier with wire or netting.
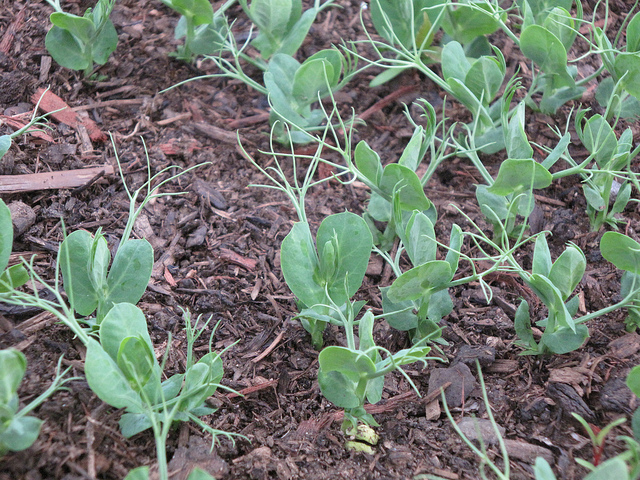
image: Carol Jacobs-Carre (Flickr)
When do I plant seeds in Australia?
Plant according to regional climatic conditions. Ideal temperatures are between 15 and 24 degrees Celsius, with heat stress occurring when temperatures are above 30 degrees Celsius.
Cool, temperate and frost-free regions: February to August
Cold regions: September to October
Subtropical regions: April to July
Tropical regions: generally not suited unless in cooler highland areas (April to July)
Find a sunny position
Plant your seeds around 2cm deep in a location where they will get at least six hours of sunlight each day. Shoots will emerge in around 10 days.
Provide well-drained soil
Well-drained soil is required and mounding your beds before planting can help to achieve this. Prepare your soil with well-rotted compost and sulfate of potash. A slightly acidic to neutral pH of 6 – 7 is ideal. If you test your soil and your pH is too low, add a handful of lime or dolomite per square metre, if it is too high add more compost.
Loosen the soil to a depth of around 30cm using a garden fork. You will know you have done enough when you can drop your fork in the soil and it stays upright.
Can I grow them in a container?
You don't have to miss out if you have a balcony garden. Try growing smaller bush varieties of snow peas in containers.
Avoid over-watering
Water seeds well after planting then do not water again until the seeds germinate because they are prone to rotting. Also avoid planting seeds during wet weather for the same reason. Start watering regularly when shoots are around 5-10 centimetres in height.
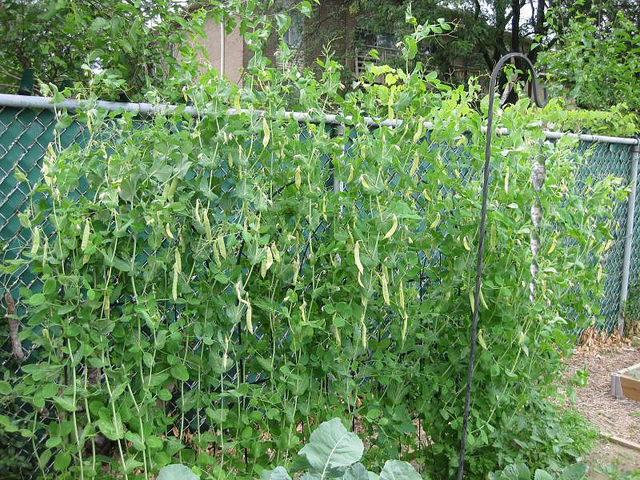
image: anneheathen (Flickr)
Provide a climbing frame
Provide a climbing structure and install it before planting your seeds to avoid disturbing the delicate roots. Be as creative as you like with your structure and either create rows or a tepee. You can use a formal frame, posts and string, bamboo or even a re-purposed gate. Guide your plants onto the climbing structure with twigs or gently wrap the tendrils once they are big enough.
Protect from pests and diseases
Like all plants snow peas can suffer from some pests and disease but the best thing you can do is to grow them at a time that is right for your climate, practice crop rotation and keep your plants nutritionally healthy.
Snow peas can fix nitrogen in your soil
Snow peas and other plants in the legume family have a mutually beneficial relationship with a soil bacteria that helps it fix atmospheric nitrogen and store it in its root nodules. This is not only great for the your snow peas but if you leave the roots to break down in your garden the nitrogen will release into the soil for your other crops to use.
Fertilising your plants
Your snow peas should not need any extra fertilizer but if they are not looking their best around podding time, give them some organic fertilizer.
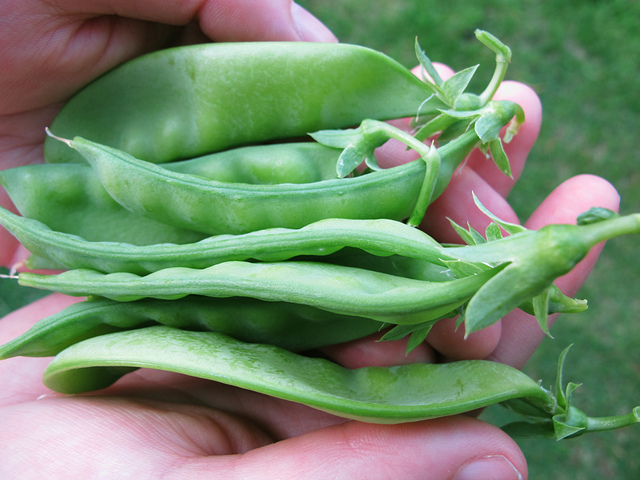
image: essie (Flickr)
Harvesting your produce
Your plants will begin to produce pods in around 10 weeks and they are tastiest when picked immediately before eating. Excess pods can be blanched and frozen.
Grow as a micro-green
Try buying some seeds in bulk and growing them as a microgreen. I find that homegrown sprouts are considerably more tender and sweet.
Where do I buy seeds?
Go to your local nursery or search for seed stores online. Try to buy seeds that have been grown in Australia. You could also join a local savers group.
Can I save my own seeds?
It's easy to save your own snow pea seeds. Select strong plants and leave pods to dry on the plants. Shell and let them dry for a further week on a rack before placing them in a labeled jar and store them somewhere dark, cool and dry.
How do you like to grow your snow peas? Do you construct a trellis or a tepee? What do you make yours out of?
