Can you cut 1 Tonne of carbon pollution out of your life?
Take the challengeThis is a guest post from the 1 Million Women community.
Written by Lana Hawkins
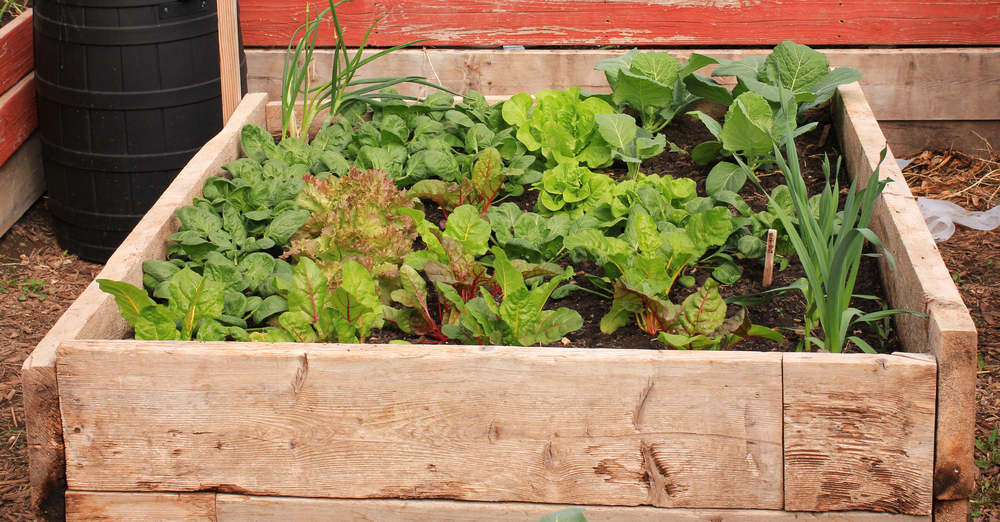
Unlike garden planters, raised beds have no bottom and hence allow for better drainage. The roots of the plants can go deeper into the ground where there are nutrients, while the sides of the beds prevent weed and pests (like slugs) from looting your garden! When it's bucketing down with rain, you don't have to worry that the soil will be washed away, and the planting season can be prolonged since the soil warms faster in these beds.
What you'll need:
Pencil, ruler, drill, shovel, carpenter's level, hacksaw, mallet, eye and ear protection, work gloves.
Corner posts: Four 16-inch-long (40cm) 4-by-4s for each bed.
Fastening: You will need at least twenty-four 3.5" #14 wood screws. Buy coated stainless screws that will not rust the first year.
Lumber: The amount of lumber you will need depends on the size of one bed and how many beds you are making. The most commonly suggested bed size is 8 feet by 4 feet. This length is convenient because the boards are 8 feet long, so you do not have to shorten them, and if the bed is wider than 4 feet, it will be harder for you to reach the plants in the middle.
Top tip: To make your garden more sustainable, make the frames from recycled materials, like concrete pavers or old sleepers.
What to do:
Safety first: Make sure you wear protective gear at all times!
Preparing the location
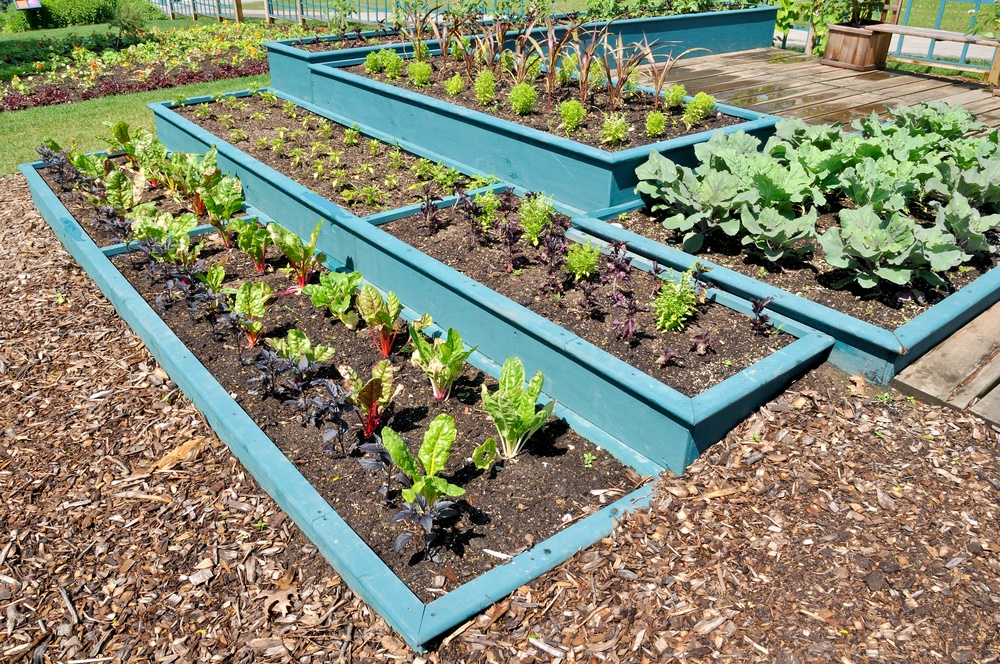
Clear the area where you want to build your bed. If you are making more than one bed and you want them to be aligned, take a string to create a straight line along which you will place your raised beds. Flatten the part of the ground where the frames will sit using a shovel to make sure the beds are levelled.
Assembling the frame
If you are not making an 8-feet-by-4-feet bed, cut the boards to a desired length. Assemble one corner of the bed with two pieces of wood and join them together with two screws for now. Repeat for the other three corners. When you have made a one course box, make sure it is rectangular. Then screw in one more screw into each corner to make sure the box remains square. Continue building separate courses in the same way, making sure you check if each one is levelled and rectangular. The number of courses depends on how tall you want your bed to be. We recommend four-course beds.
Placing the beds
Take corner posts and cut them longer than you need them. Drive the first post into the ground a few inches. Set the first course into place and screw into to the post with two screws. Then set the remaining three corner posts and fasten them to the frame in the same way. Continue building up the courses and fastening them to the posts. When you are done, if the posts stick up, cut the tops off with a handsaw.
Gardening
Use the highest quality soil you can find, add soil amendments and organic fertilizers to it, and fill up the beds. Now all is left to do is choose the plants for your new garden and get gardening!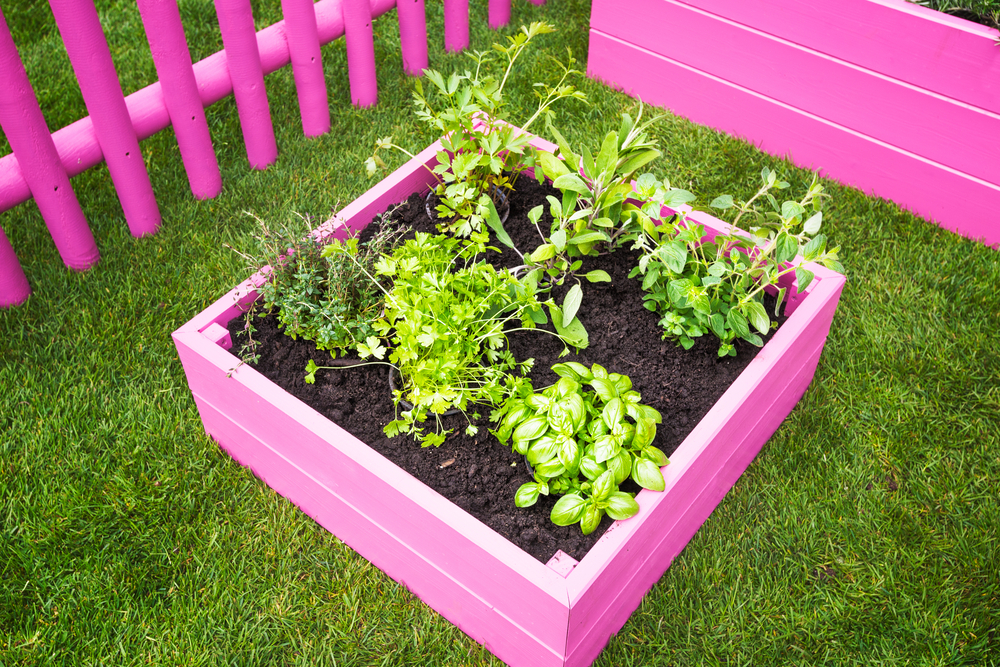
Lana Hawkins is a student of Architecture from Sydney. She loves writing about landscape design and is very interested in the concept of sustainable architecture. Also, she enjoys travelling and trying out new recipes.
Lana consulted experts from Wintons Teak for writing this article.
Images: Shutterstock
READ THIS NEXT: This Palestinian village is fighting war with flowers