For a sustainable future it's vital that we revive important skills such as mending clothing and with this comes the valuing of textiles and clothing that have taken considerable resources to create.
There is evidence that hand-stitching is associated with the release of serotonin in the brain so it is likely to make you feel good too.
The first thing you need to decide is if something is worth mending or if there is another option for the garment.
To mend or not to mend: ask yourself these key questions
- Do I love it or will someone else love it?
- How much time, money, and resources will it take to mend it?
- Is the fabric of high quality?
- Is the rest of the garment in good condition?
- Could it be repurposed into something else of similar or higher value?
Which type of stitch do I use?
Unless otherwise suggested use these stitches on garments:
- Jeans: overcast and backstitch
- Shirt/blouse: running stitch
- Tracksuit: backstitch
- Stretchy fabric: backstitch
- Non-stretchy fabric: running stitch
- T-shirt: backstitch
Mending tips:
- Repair as soon as possible even if it's just a temporary fix
- If possible iron first to align the fabric
- Avoid washing because this is likely to make the damage worse
- Choose thread that is the same colour or a shade darker because thread usually ends up looking lighter than it does on the spool.
- Always work under good lighting
- Avoid using long lengths of thread because long thread pulled back and forth in a darn can pull and stretch the area out of shape
Websites and Youtube videos are great as a resource for mending information but I found books were the most valuable starting point. Check your local library to see what they have. Here are some I found useful:
- Mend it Better by Kristin Roach
- Stitch 'n' Fix: essential mending and know-how for bachelors and babes by Joan Gordon
- Fix Your Clothes by Raleigh Briggs
- Make and Mend: a guide to recycling clothes and fabrics by Rebecca Peacock and Sam Tickner
Common repairs:
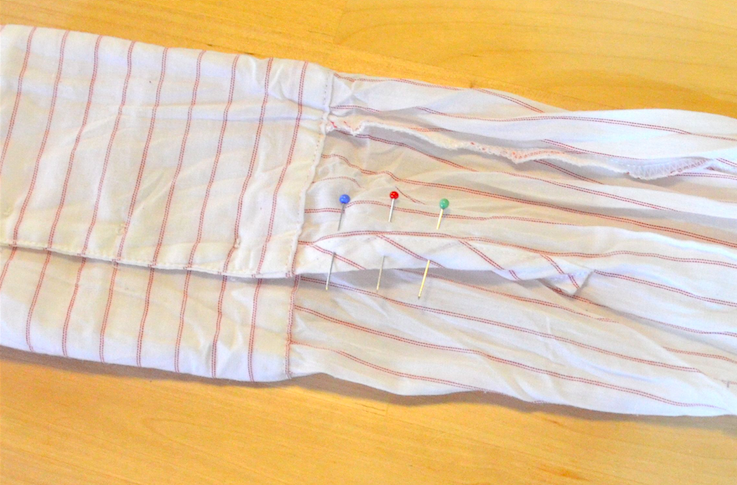
Torn seam
If possible turn your garment inside out then pin the tear together even if the damaged area is only small. This will allow you to focus on on keeping your stitching even. Using backstitch, start and finish your stitching around 2cm before and after the missing stitches. Replace any extra stitching that previously existed.
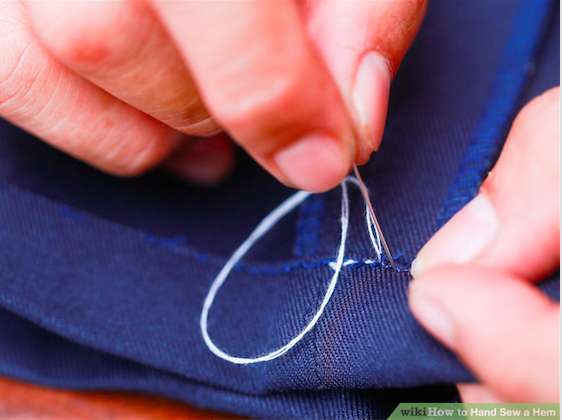
Repairing hems by hand
Hemming skills will open up a whole new world for your fashion wardrobe especially when it comes to clothing swaps and op-shop finds. For woven fabrics finished with a seam or binding use blind stitch as this is relatively invisible from the right side of the fabric. You can also use iron-on strips of fusible webbing on some fabrics. Make sure you protect your iron-board and iron by using a piece of cotton fabric underneath and on top of the tear as you iron.
Image and further information: Wikihow
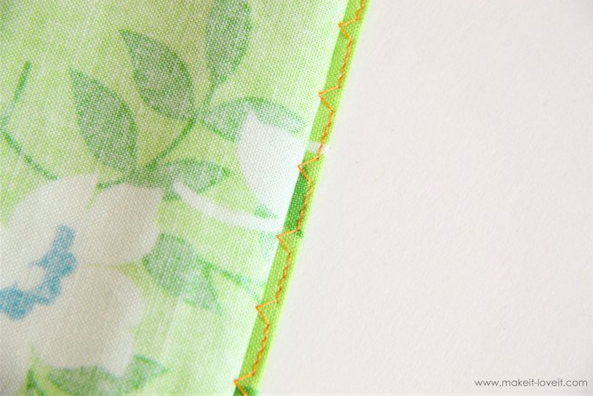
Repairing hems by machine
For an invisible hem using a sewing machine use blindstitch as straight stitch will show through.
Image and further information: Make it, Love it
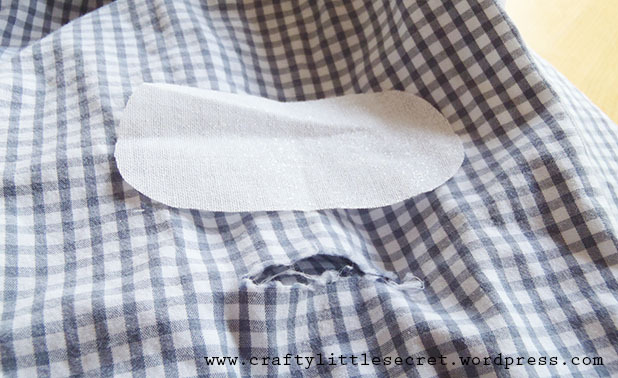
Using a fusible interfacing for a tear or cut within fabric
This is a good option to stabilise fabric that hasn't frayed excessively. If possible test on a hidden part of the garment first such as a seam allowance.
Carefully iron the area to align the fabric and trim off any loose threads with a sharp pair of scissors. You may need to cut an extra 1 centimetre into each end to create a neat taper point. Next cut a piece of fusible interfacing 2.5 centimetres larger than the tear, place the torn fabric face down and gently bring the edges together. Use the tip of the iron to bond the interfacing to the fabric then turn the fabric over to ensure it has aligned neatly. Return the fabric to the face down position and press with the iron to fuse it. Protect your iron and ironing board by placing a piece of cotton fabric underneath and on top of the repair as you iron.
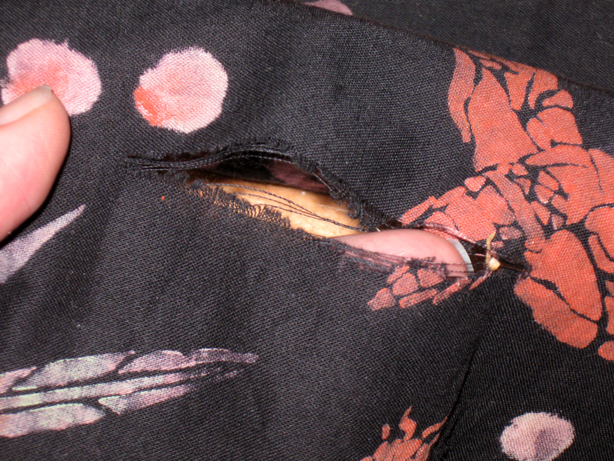
Hand darn a slash or tear within fabric
Use catch stitch to gently tack the edges together then darn back and forth at a right angle to the tear, with stitches around 3-6mm apart.
Further information: Fashion Sewing Blog
Image: Weaversew

Machine-darn tear or cut within fabric
Using a sewing machine is a more visible way of mending your clothes. Cut out a light weight piece of matching fabric slightly larger than the torn area. Use Serpentine, honeycomb or multi-stitch zigzag stitch on the right side of the garment and ensure you catch both edges of the tear in your stitching. Turn over to the inside of the fabric and trim the piece of underlay. Some machines have a special darning foot with a free-hand straight stitch.
Image: Cucicucicoo

How to machine-darn a hole or reinforce a worn area
Trim the threads from around the hole then cut a patch of light woven fabric at least 2.5 centimetres larger than the hole or worn area. Place the area in an embroidery hoop and attach darning or embroidery foot.
Slowly stitch a circle around outside of the hole without rotating the hoop. Then move hoop back and forth under the needle to fill in with vertical stitches. Move from side to side to create horizontal threads and continue stitching until the hole is covered.
Image Quietude
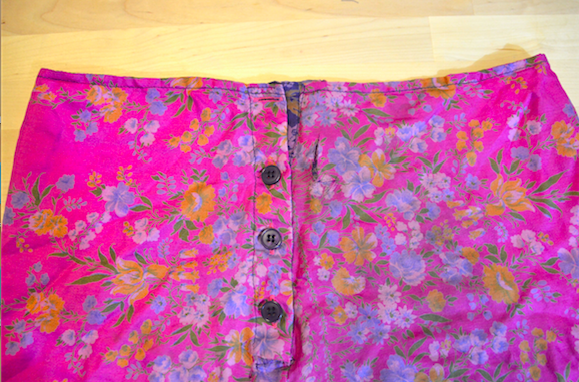
L shaped tears
Close the hole as much as possible. Place two pieces of iron-on hem web tape across the hole so that they overlap. Once webbing is bonded find a thread of a matching colour and sew small even stitches across the tear. Ensure these stitches follow the grain of the fabric.
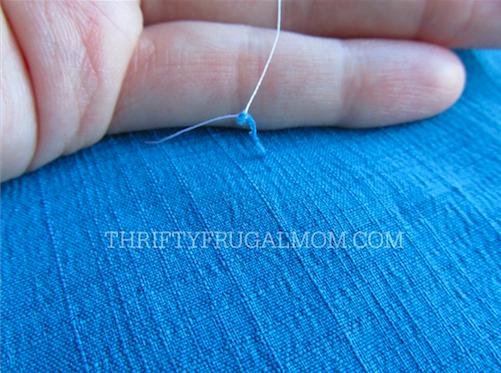
Snag or pull in fabric
By pulling a needle and thread through the middle of the snag and knotting it to the thread you will be able to use the needle to pull the snag through to the other side of the the fabric.
Image and further information: Thrifty Frugal Mom
Snag or pull within knitted fabric
Turn your garment inside out and use either a fine crochet hook or snag repair needle to pull the snagged thread through. After you have checked the other side to see if there is any sign of the snag, you can tie it off. Check for broken strands of yarn and pull them through to the inside and knot them or use fine yarn to stitch them from the inside.
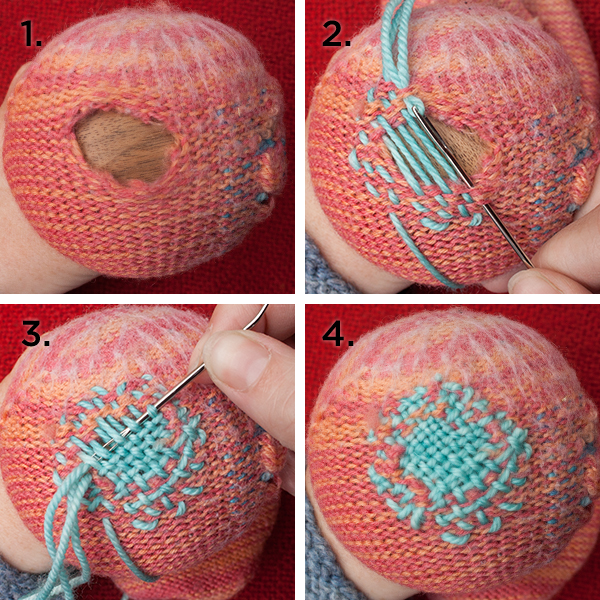
Darning a hole in a knitted garment
There is a real art to invisible darning but why not start out on some small holes and build your skills from there. It's best to repair damage when it is minor anyway.
Image and further information: Twist Collective
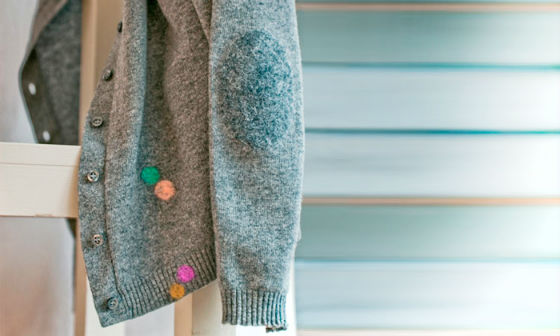
Make a creative feature
If damage is in a prominent position or you think a regular mending technique just wouldn't look quite right, the best solution might be to disguise the damage by turning it into a feature. Consider using embroidery, ribbon, lace or even adding a pocket to the design.
Do you have any good mending tips? Or a before and after picture of a clothing mend you are proud of?
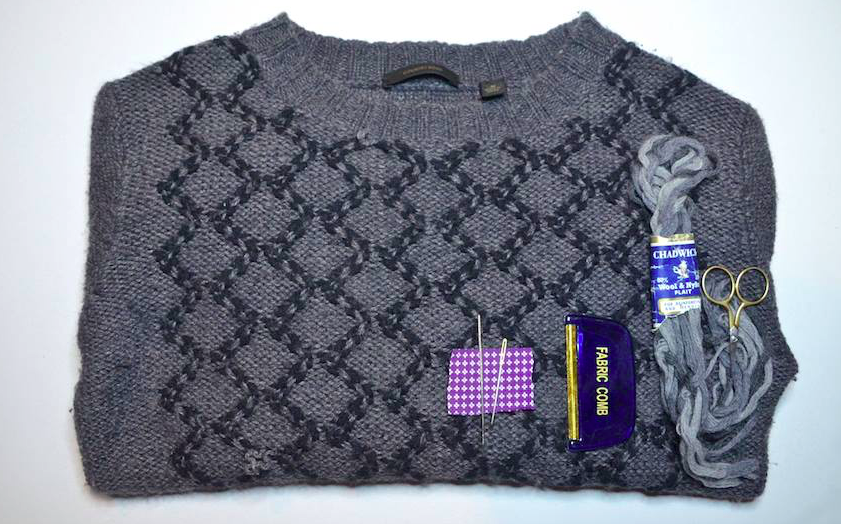
READ THIS NEXT: How to: build your own clothing mending kit
Banner image: unsplash
