Can you cut 1 Tonne of carbon pollution out of your life?
Take the challengeWe all know fresh is best but we don't all have room to grow our own veggie patch. Micro-greens are a great alternative and it's easy to get your little indoor garden established.
I've run out of room in my backyard so I thought I'd give them a try.
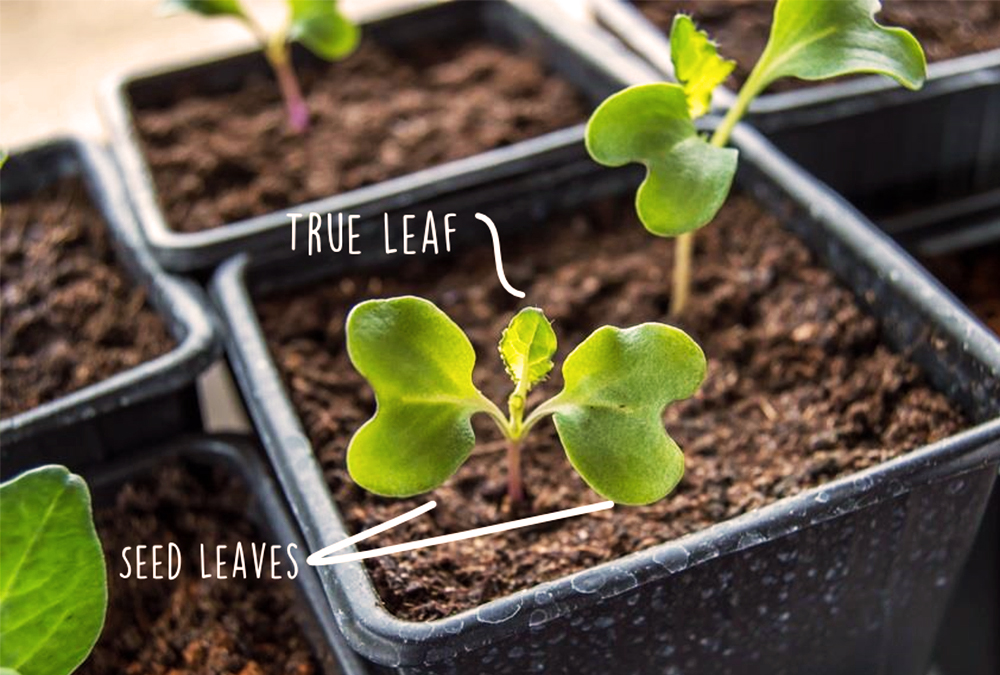
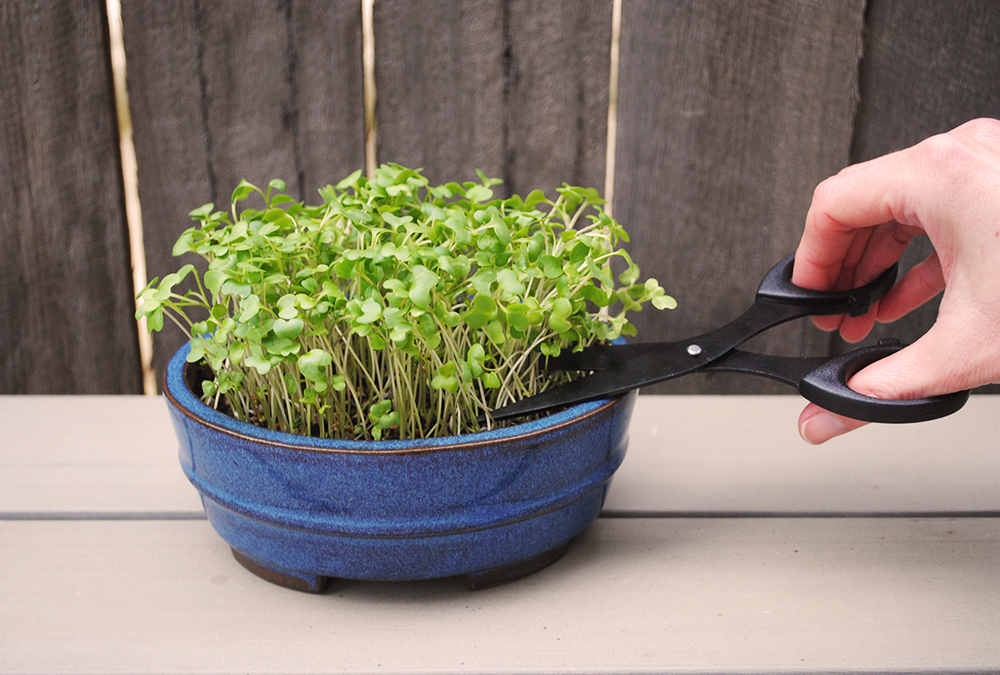
Micro-greens are not a special variety of plants; they are simply the seedlings of some herbs and vegetables. Think of them as being a cross between sprouts and baby vegetables. You harvest them with scissors around the time when their first true leaves appear, when they are around 5-10cm high.
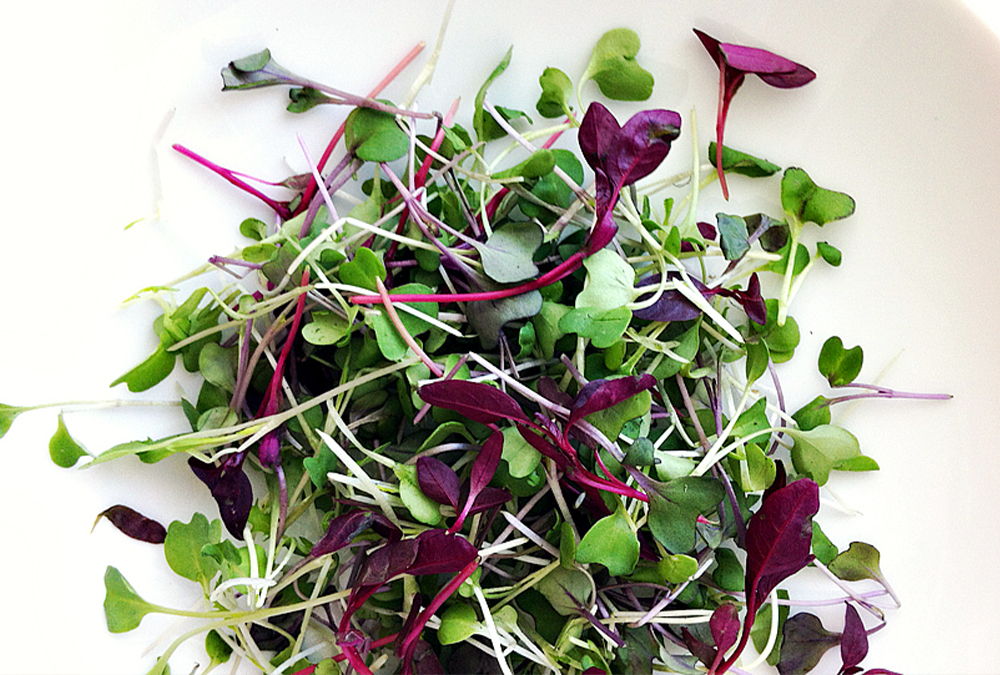
You will find that you will love their delicate texture, delicious flavour, and vibrant colours. Also, because you harvest just what you need, very little is wasted.
They are great for putting through salads, in sandwiches, or using as garnishes and you can even just munch on them as a snack. By using a pretty container they make a great window decoration too.
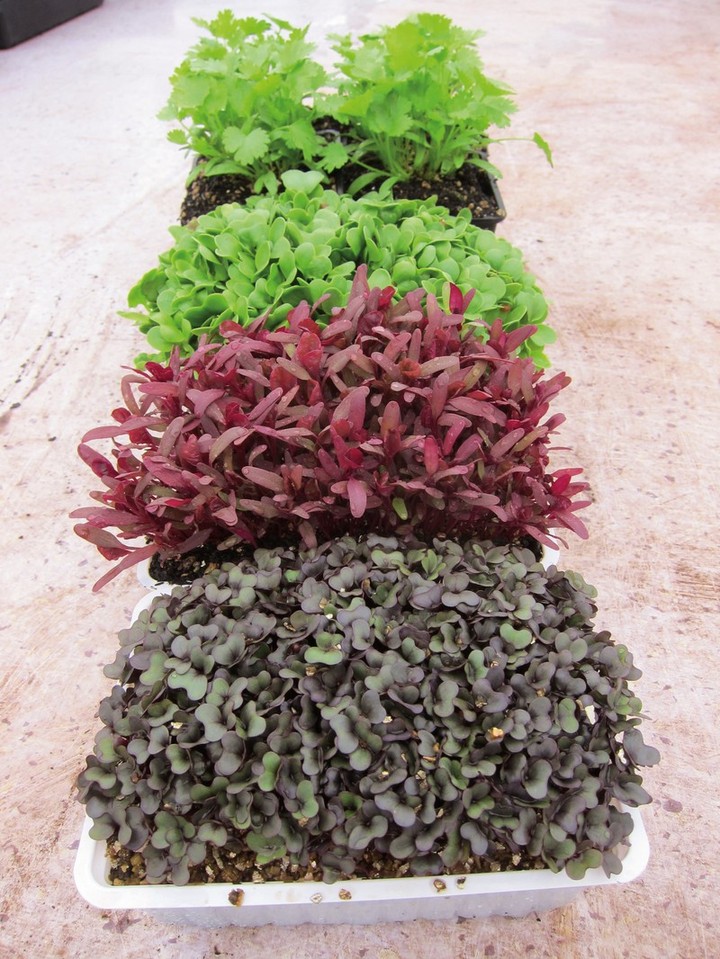
[Varieties of micro-greens via Noshtopia]
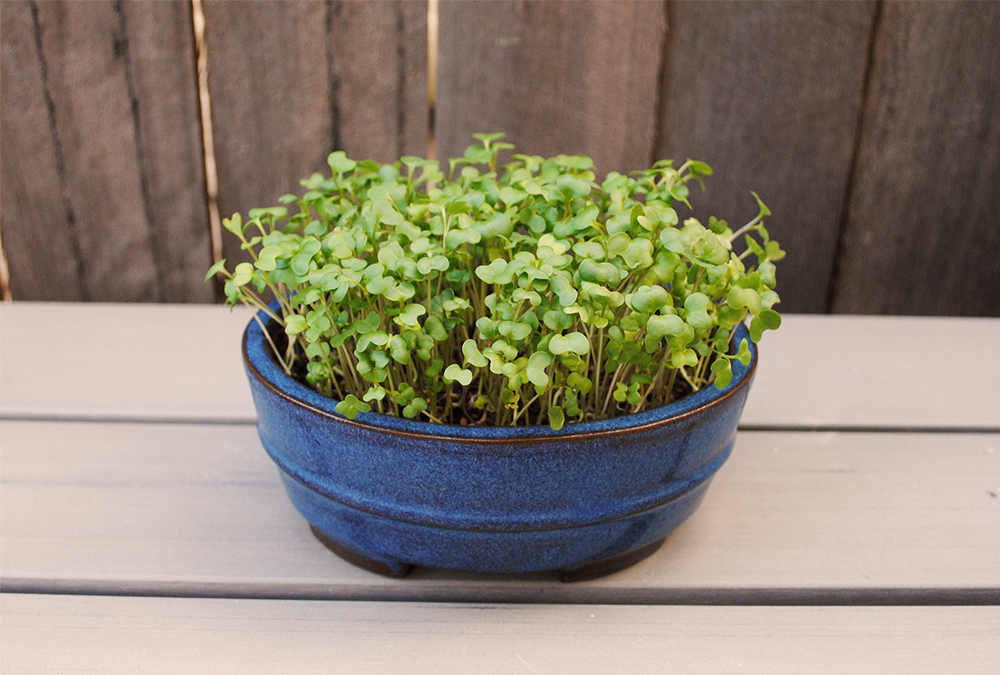
One of my favourites at the moment is broccoli. It might be small but it is packed full of nutrients and is known popularly as one of the super micro-foods. Broccoli contains high levels of sulphoraphane, an anti-oxidant with health promoting properties including having an effect on the bacteria linked to most stomach cancers and ulcers. Studies have shown that micro-greens have concentrated amounts of the nutrients found in their mature counterparts and broccoli micro-greens have up to 50 times as much sulphoraphane as fully grown broccoli.
You can sow them in seed raising mix or add paper-towel on top. I found using the paper-towel method was best for this seed.
For this you will need:
- a container with drainage holes
- seed raising mix
- seeds
- unbleached paper-towel
- a water spray bottle
Container
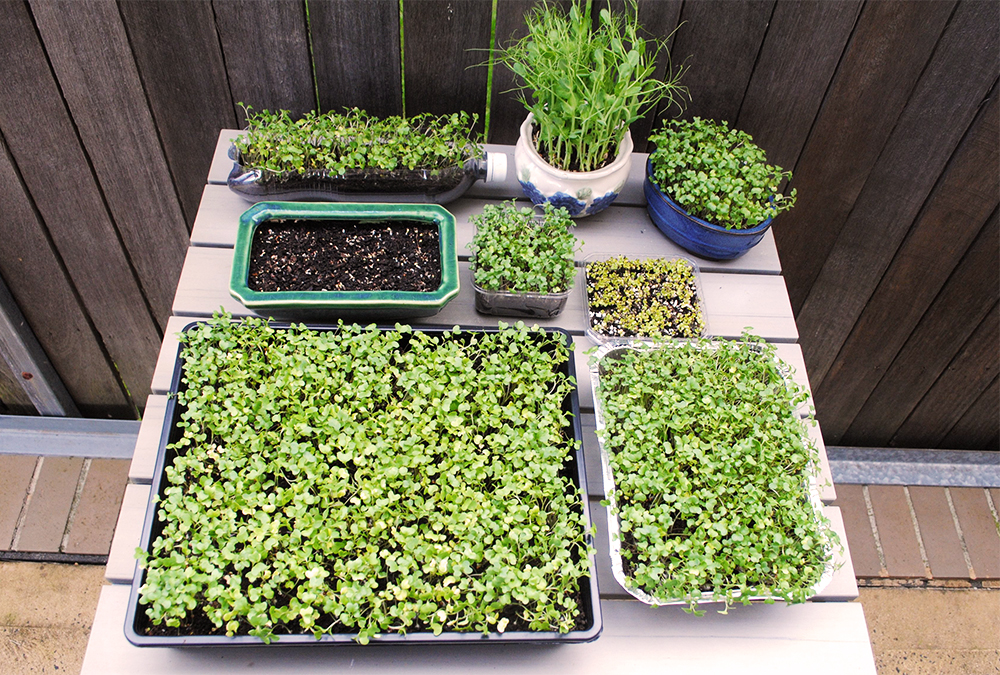
Choose a shallow container with good drainage at least 5cm deep. A re-used plastic container with holes in the bottom works well and you can even put one of these inside a more attractive container.
I like to use bonsai pots that can be re-used for many years. For more substantial crops try a planter tray from a nursery. Fill it with a good quality seed-raising mix. Gently smooth out the surface of the mix to ensure even coverage of the seeds.
Seed
This can be purchased either from your local nursery or online seed store. It's more economical to buy bulk packets and if you go in with friends it's even cheaper. Avoid seeds treated with fungicide and ideally choose organic seeds.
Sprinkle seeds densely over the soil in your container. Remember you will be harvesting the plants early so they will cope with being much closer together than what you would normally plant.
Stagger your planting of crops to ensure a consistent supply of micro-greens.
Watering
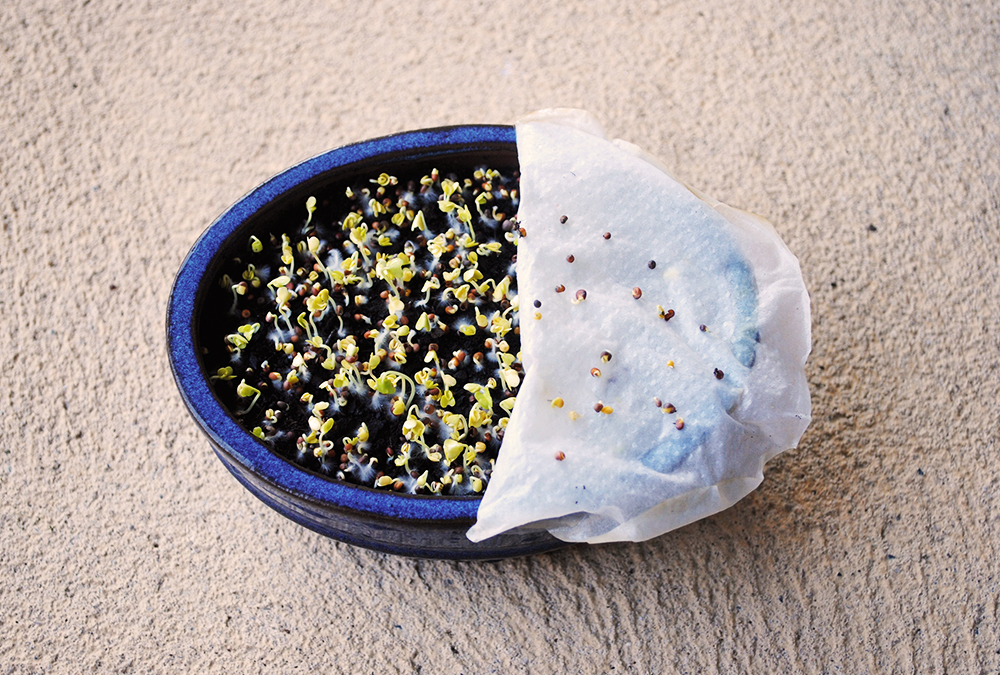
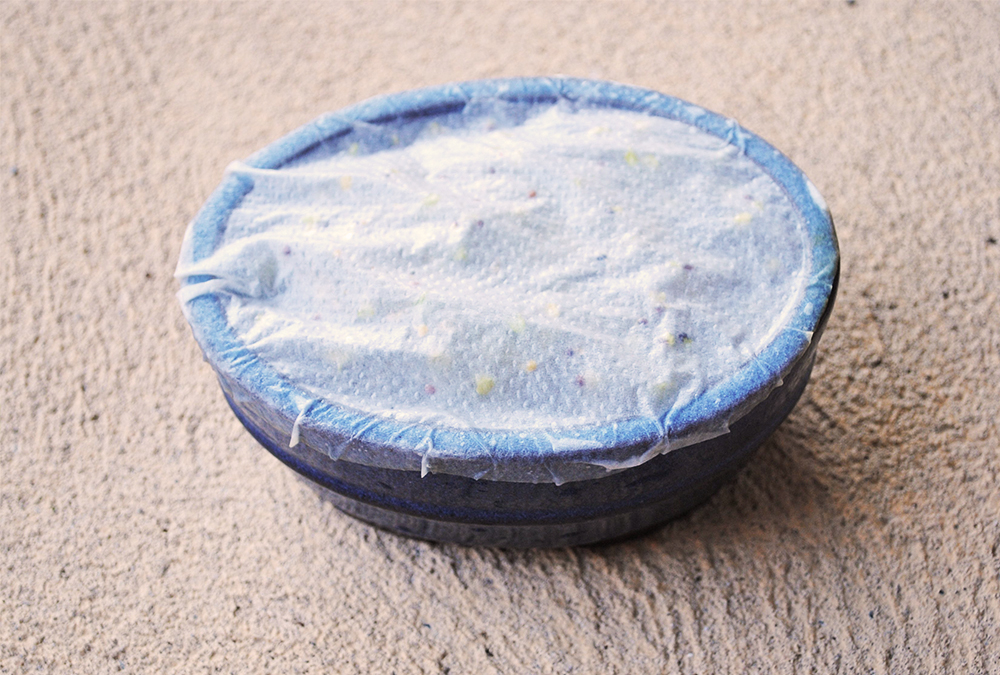
Mist with water, then cover with a piece of paper-towel cut to fit the shape of container. Keep this moist until the seeds have taken root in the soil. This will involve watering approximately twice a day. Remove the paper-towel when you can easily pull it away without lifting up a majority of the sprouting seeds. This usually takes around 3 days.
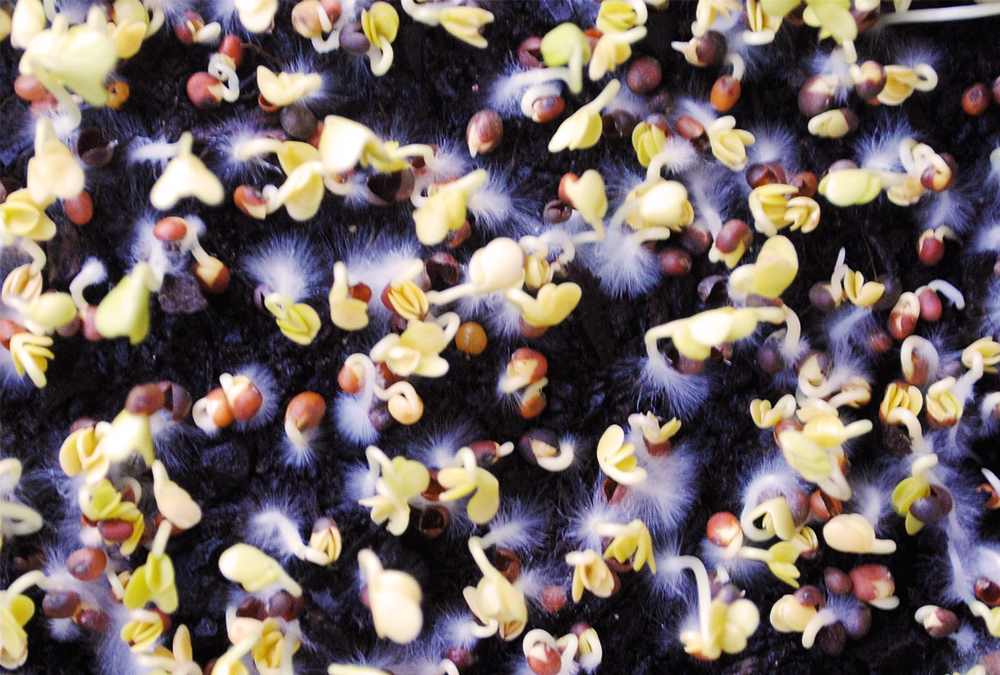
As the seeds sprout you will notice fine white hairs forming. Don't worry; this is perfectly normal. These are the plant's roots.
Positioning
Keep the containers on the kitchen bench then once the paper-towel has been removed move them to a windowsill or covered area outside where there is indirect sunlight and good air-circulation.
Harvesting
It's up to you when you harvest your micro-greens. As a guide, it's usually done when the first true leaves appear. For broccoli this will probably be between one and two weeks. Use scissors to cut the stems then rinse under water and use immediately.
For me, growing my own herbs and veggies is not just about having healthy organic food to eat and reducing my ecological footprint. I find that touching the soil, planting and tending seeds and connecting to the cycles of nature slows my mind and makes me feel more centered. Growing micro-greens is particularly mindful and a great activity to do after a busy day.
Get creative and experiment with decorating containers for growing your micro-greens. Soon your kitchen window will have it's own little garden and you won't get any fresher than harvesting food from your own kitchen!
Further Tips
- If you don't have soil, try growing your seeds on moist paper-towel instead.
- Try growing other micro-greens such as mizuna, tatsoi, beetroot, spinach, sunflowers, fenugreek and snow peas. All seeds have specific conditions and temperature ranges they need in order to sprout and you will need to provide these for your seeds to grow. For the best results, plant seeds that are in season. In colder months most seeds will still grow but they might take a bit longer and might need a bit of extra care.
- Try growing seeds produced for food consumption but always check if they are suitable for growing as micro-greens first.
- In the warmer months try growing basil and red amaranth as micro-greens.
READ THIS NEXT: How to turn food scraps into cleaning materials
We're building a movement of women fighting climate change through the way we live.
Join us and be counted.
