Can you cut 1 Tonne of carbon pollution out of your life?
Take the challengeCold and flu season is creeping up so this recipe for homemade Vicks VapoRub couldn't have come at a better time.
This Vicks substitute is made using essential oils and beeswax and includes either coconut or olive oil as a carrier. If you choose coconut you'll end up with a slightly firmer rub. If you'd like a vegan-friendly version that skips the beeswax you can omit it, you'll just end up with a runny final product, but if you use coconut oil and keep it in the fridge it should all harden up a bit.
This vapor rub has about a 3% dilution of essential oils - if you're making this for a person under the age of 5, I recommend halving the essential oils you put in.
If you have sensitive skin you should also use less of the oils - and it wouldn't be a bad idea to cut out the clove essential oil completely! I like the way it rounds out the smell of the vapor rub, but it can cause skin irritation.
Make sure to do a patch test on your forearm or another easily washable area and give it a little time to ensure that you won't have a reaction. If you slather it all over your chest without testing and then rash up you're going to feel much worse. It's rare but it happens!
Ingredients
- 1/4 cup olive or coconut oil
- 1 tablespoon grated beeswax
- 10 drops eucalyptus essential oil
- 10 drops rosemary essential oil
- 5-10 drops peppermint essential oil
- 1-2 drops clove essential oil (optional - be wary if you have sensitive skin)
- a small glass jar to keep it in
Method
Grate enough beeswax to fill a tablespoon (press it down to make sure you're getting the whole amount).
Combine beeswax and coconut oil and melt over a gentle double boiler.
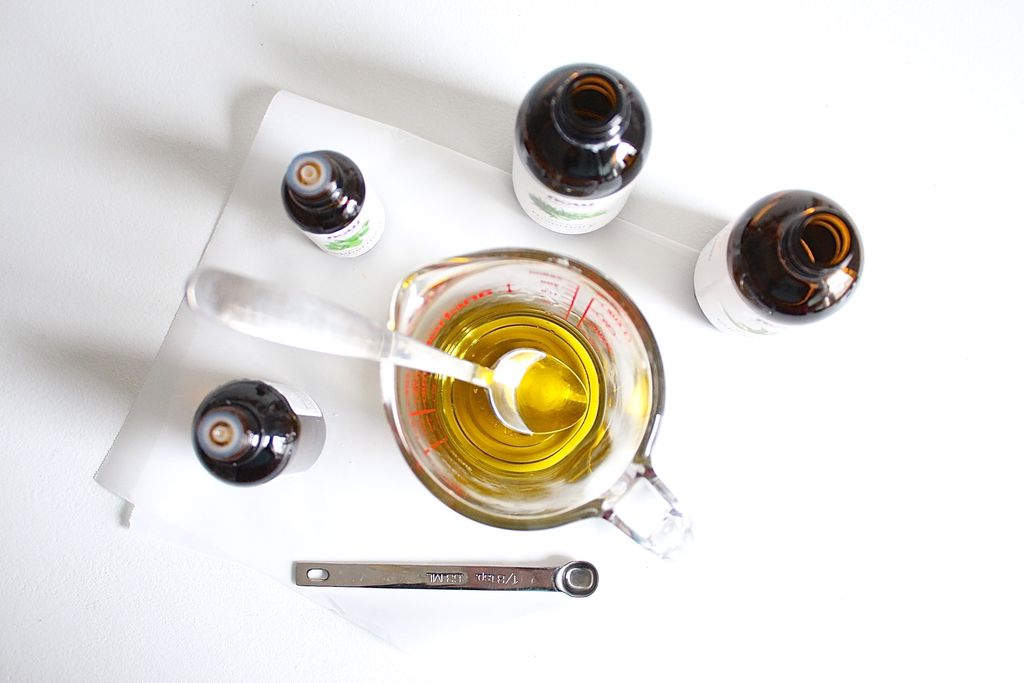
Add your oils to the mix, give it a good stir and transfer to your chosen container.
Let it cool or pop it into the fridge if you've skipped the beeswax.
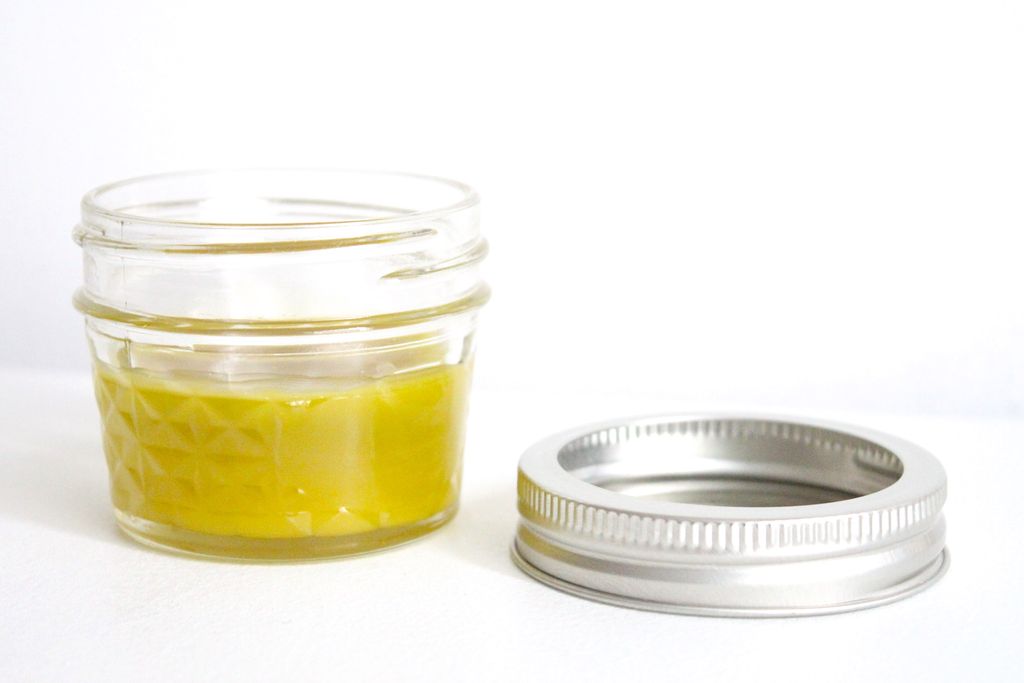
The rub will become solid fairly quickly - just make sure to leave the lid off while it hardens so you don't get any condensation. Once the rub has hardened, it's time to try it out!
It won't smell as strongly once it's hardened, but rest assured that you don't need much! I apply maybe 1/8-1/4 teaspoon each time I use it. As you rub it into your skin the smell will become stronger.
Make sure to always apply with dry, clean hands and avoid getting any liquids into the rub. Make a fresh batch every cold season and enjoy!
This blog has been adapted from an Instructable that was originally posted by Jessyratfink and is being shared under a Creative Commons ShareAlike license.
Banner Image: Shutterstock
Try this next: DIY Moisturiser Bars
1 Million Women is more than our name, it's our goal! We're building a movement of strong, inspirational women acting on climate change by leading low-carbon lives. To make sure that our message has an impact, we need more women adding their voice. We need to be louder. Joining us online means your voice and actions can be counted. We need you.